


September 8, 2025, 8:40 am | Read time: 5 minutes
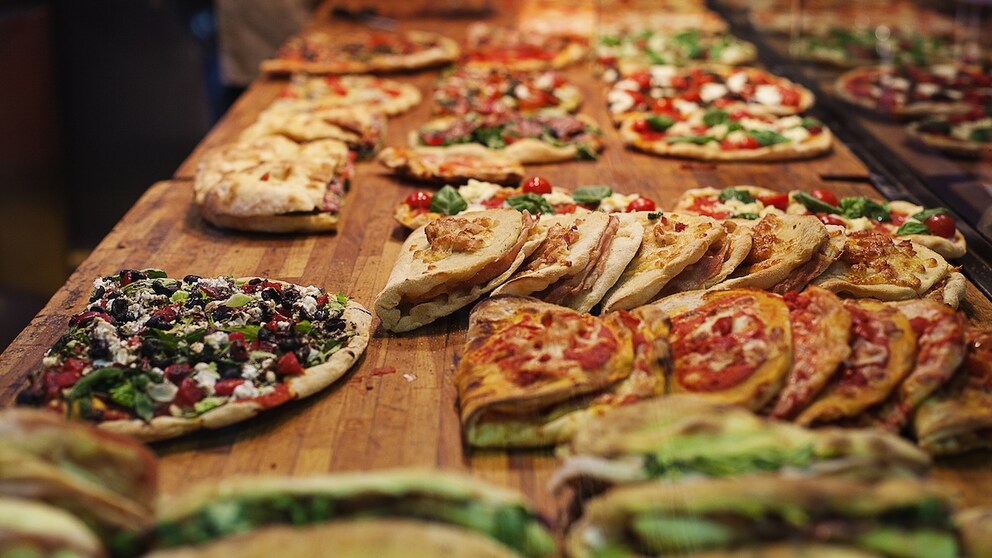
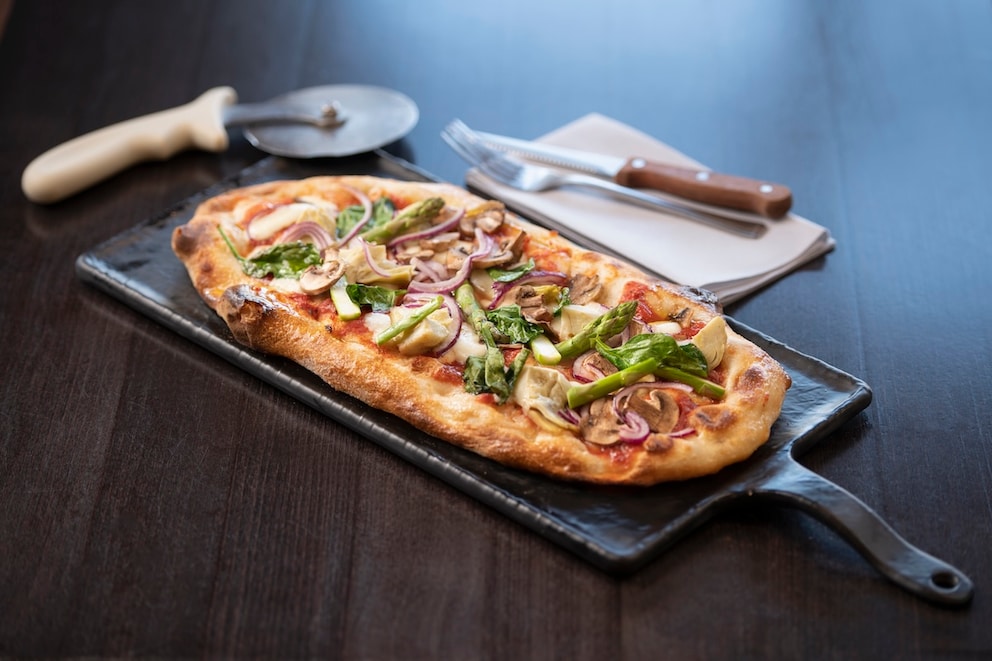
It has a similar name and looks almost the same: The Pinsa is easily confused with the classic pizza. In both cases, you have a topped dough base. While the pizza is usually round, the Pinsa is oblong oval. But there are more differences between pizza and Pinsa.
Overview
Where does the name Pinsa come from?
“The word Pinsa is derived from pinsere in Latin, meaning ‘to crush / to press,’” explains Davy Mazzuca, who runs a Pinseria in Saarlouis (Saarland), when asked by TRAVELBOOK. “This refers to the crushed grain used for it.”
What is the difference between Pinsa and pizza?
Pinsa and pizza: At first glance, there seem to be hardly any differences between the two dishes. Both are dough flats, spread with sauce, topped as desired, and baked. However, anyone who bites into a Pinsa quickly notices what makes it so special: “It is very fluffy inside while remaining wonderfully crispy on the outside,” describes Mazzuca of the Roman specialty.
How to make Pinsa especially fluffy – tips from the pro
Trick 1: Mixing different flours
Two tricks ensure this special texture and set the Pinsa apart from pizza. First trick: Unlike pizza, Pinsa does not settle for just one type of flour. The dough is based on a mixture of different flours. Essentially, these are rice flour, wheat flour, soy flour, and sourdough. “We source these directly from a mill in Italy,” says Mazzuca.
Each ingredient has its own role: The soy flour provides stability, the rice flour adds lightness and fluff, and the sourdough ensures digestibility. The Pinsa dough is quite thirsty: For one kilogram of flour, there are 800 to 900 milliliters of water, significantly more than in classic pizza.
Also interesting: Why Italians are going crazy over this pizza
Trick 2: Much longer rising time
The second trick is the long rising time. By the time the oven is heated, the Pinsa dough has already spent up to five days in the refrigerator–enough time to form large air bubbles. “Since the dough rests for so long, the Pinsa is easier to digest than a pizza,” explains Pinsa baker Mazzuca.
And because the flatbread has a rather neutral taste, it pairs well with both savory and sweet toppings. “Overall, there are three ways to top the Pinsa: red, white, and sweet,” says Mazzuca.
The agony of choosing Pinsa
The red Pinsa, prepared with a tomato sauce and ingredients of choice, most closely resembles the classic pizza. “However, the flavor of the dough comes through better when the Pinsa is served without tomato sauce, eaten bianca or white,” explains Bessem Lamari from the “Pinsa Manufaktur” in Stuttgart.
In this version of the Pinsa, light creams–such as those based on pesto, salmon, or pistachios–ensure that the flatbread does not become too dry. The rule here is: Anything you like can go on top. Lamari has a clear favorite: “The combination of Parma ham, buffalo mozzarella, cherry tomatoes, and arugula is very delicious.” If you like the contrast of crunchy and soft, top the Pinsa with ricotta, pear, walnuts, and honey.

7 Tips and Tricks for Making the Perfect Pizza at Home

These 11 places serve the best pizza in Berlin
Pinsa as dessert
Pinsa becomes a dessert when spread thickly with hazelnut-chocolate cream and topped with crushed cookies, banana slices, strawberries, or colorful chocolate candies as desired. Those who follow a vegan diet can use applesauce and sprinkle the Pinsa with a generous amount of cinnamon and sugar.
“Traditionally, the Pinsa is topped both before and after baking,” explains Mazzuca. The sauces or creams are usually applied to the dough before it goes into the oven. Other toppings–such as mortadella, arugula, or fruits–are added once the Pinsa is baked.
A bit of finesse is required when handling the dough. The Pinsa dough, with its large air bubbles, does not like to be kneaded vigorously or rolled out with a rolling pin. It’s better to gently stretch the dough with your fingers to preserve the bubbles.
Making Pinsa yourself – here’s how
- Knead flour (pizza flour, type 00 or 550), yeast, sourdough, a bit of salt, a splash of olive oil, and cold water into a smooth dough.
- Let it rest covered in the refrigerator for 24 to 72 hours.
- Divide the dough into portions, shape into flat oval loaves, and let rise for another two hours at room temperature.
- Pre-bake in a hot oven (230 to 250 degrees Celsius) for a few minutes, top as desired, and then finish baking until the flatbread is crispy on the outside.